I made my first iOS Shortcut 🎉
First one that's more than one step, that is.
As I’m sure everyone is aware, I’m on Twitter a lot 👀
And one of the things that bugs me on the daily is that you can’t tell whether an image has alt text if you’re in the app. So I built myself a tiny tool to help 🤓
It was an afternoon’s project, so it’s a little rough, but here’s a quick run down of what I did:
Part 1: Netlify function
To get the alt text out of Twitter, I opted for a Netlify function, because:
- I’m lazy
- I do enough on AWS in my day job 😅
- They have great docs and local development experience 🙌🏼
The function receives a tweet ID as query string parameter, makes a call to the Twitter API to get the tweet’s details, and then it loops the image metadata for the tweet, returning an array of strings with the alt text of all the images.
const fetch = require("node-fetch");
const { BEARER_TOKEN } = process.env;

exports.handler = async (event, context) => {
  try {
    const tweetId = event.queryStringParameters.id;
    const rawResponse = await fetch(
      `https://api.twitter.com/1.1/statuses/lookup.json?id=${tweetId}&include_ext_alt_text=true&trim_user=true&tweet_mode=extended`,
      {
        headers: {
          Authorization: `Bearer ${BEARER_TOKEN}`,
        },
      },
    );
    const tweetData = await rawResponse.json();
    const images =
      tweetData[0] &&
      tweetData[0].extended_entities &&
      tweetData[0].extended_entities.media;

    if (images) {
      const alts = [];
      images.forEach((image) => {
        if ("ext_alt_text" in image) {
          alts.push(image.ext_alt_text);
        }
      });

      return {
        statusCode: 200,
        body: JSON.stringify(alts),
      };
    }

    return {
      statusCode: 204,
    };
  } catch (err) {
    return {
      statusCode: 500,
      body: `Whoops! Something went wrong -> ${err}`,
    };
  }
};
There were a few stumbles along the way, that I ended up working around, but they’re worth mentioning as it might save someone somewhere some pain 😌
- I found that when running my function locally using the
functions:serveandfunctions:invokecommands, it didn’t pull in my environment variables correctly. However, when runningnetlify devit was all good ✌🏼 - Unfortunately, the Twitter API v2 does not return the alt text in the tweet metadata, so I had to use the v1 API, in particular, this endpoint: GET statuses/lookup.
- If you set the
include_ext_alt_textparameter but still don’t get the alt text back, make sure you also settweet_modetoextendedas helpfully documented in this obscure comment thread 🙃 - When I first deployed the function, I got an error because I’d used the optional chaining operator, and even though I set an .nvmrc specifying node 14 and confirmed in the deployment log that node 14 was being used, Netlify still didn’t like it 🤷🏼♀️
Despite those, I got the function working, so hooray ✨
Part 2: iOS Shorcut
This part was a little different, but pretty straightforward. The docs weren’t particularly helpful to me in all honesty, but I did find this reddit thread full of great links 🎉
This is what the flow ended up looking like:
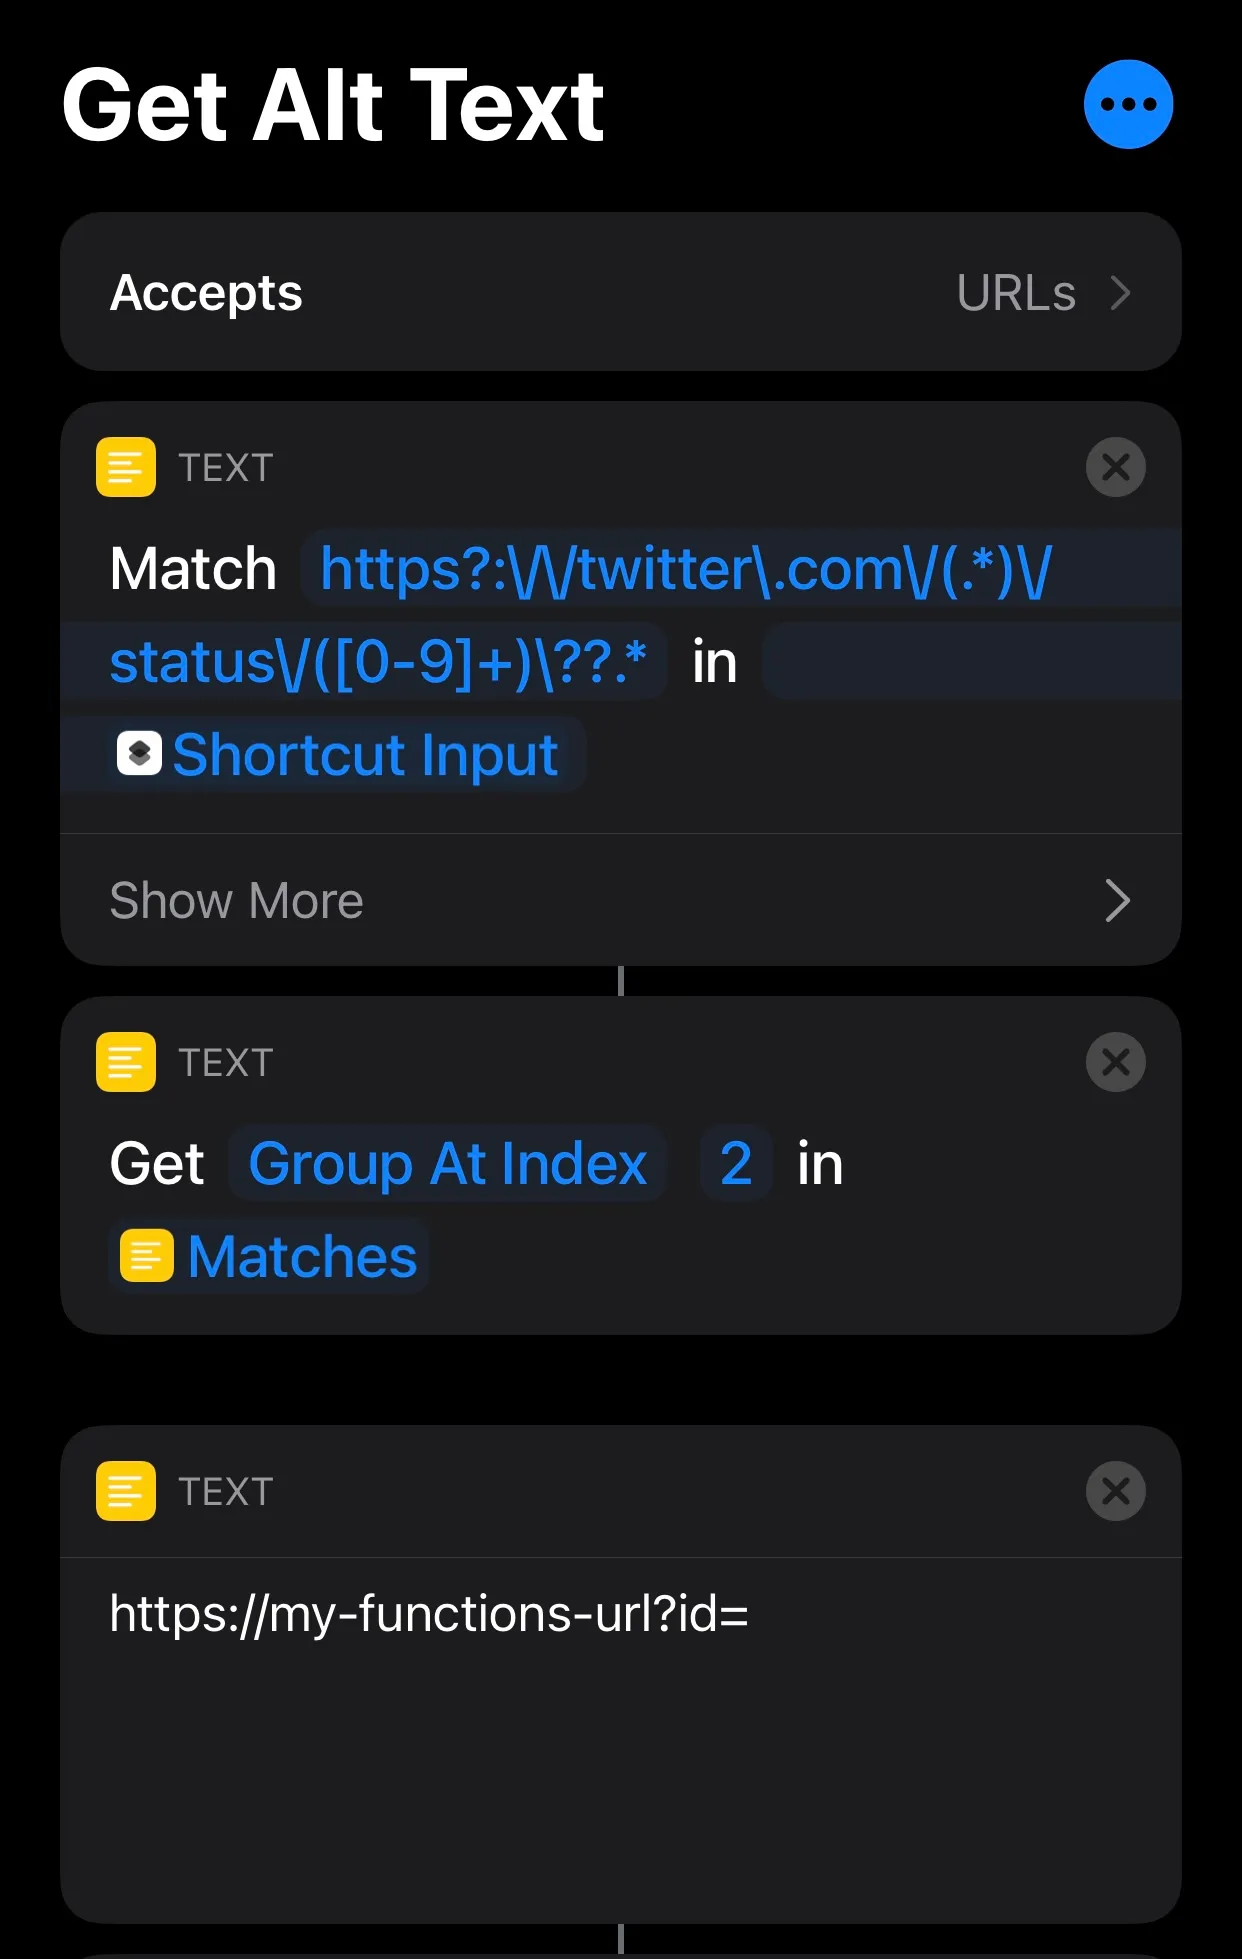
Here’s what the blocks are doing:
- Match text: does regex matching on the input (regex flavour is ICU).
- Get group in matches: allows you to pick the output of a regex capture group, in our case, the tweet ID.
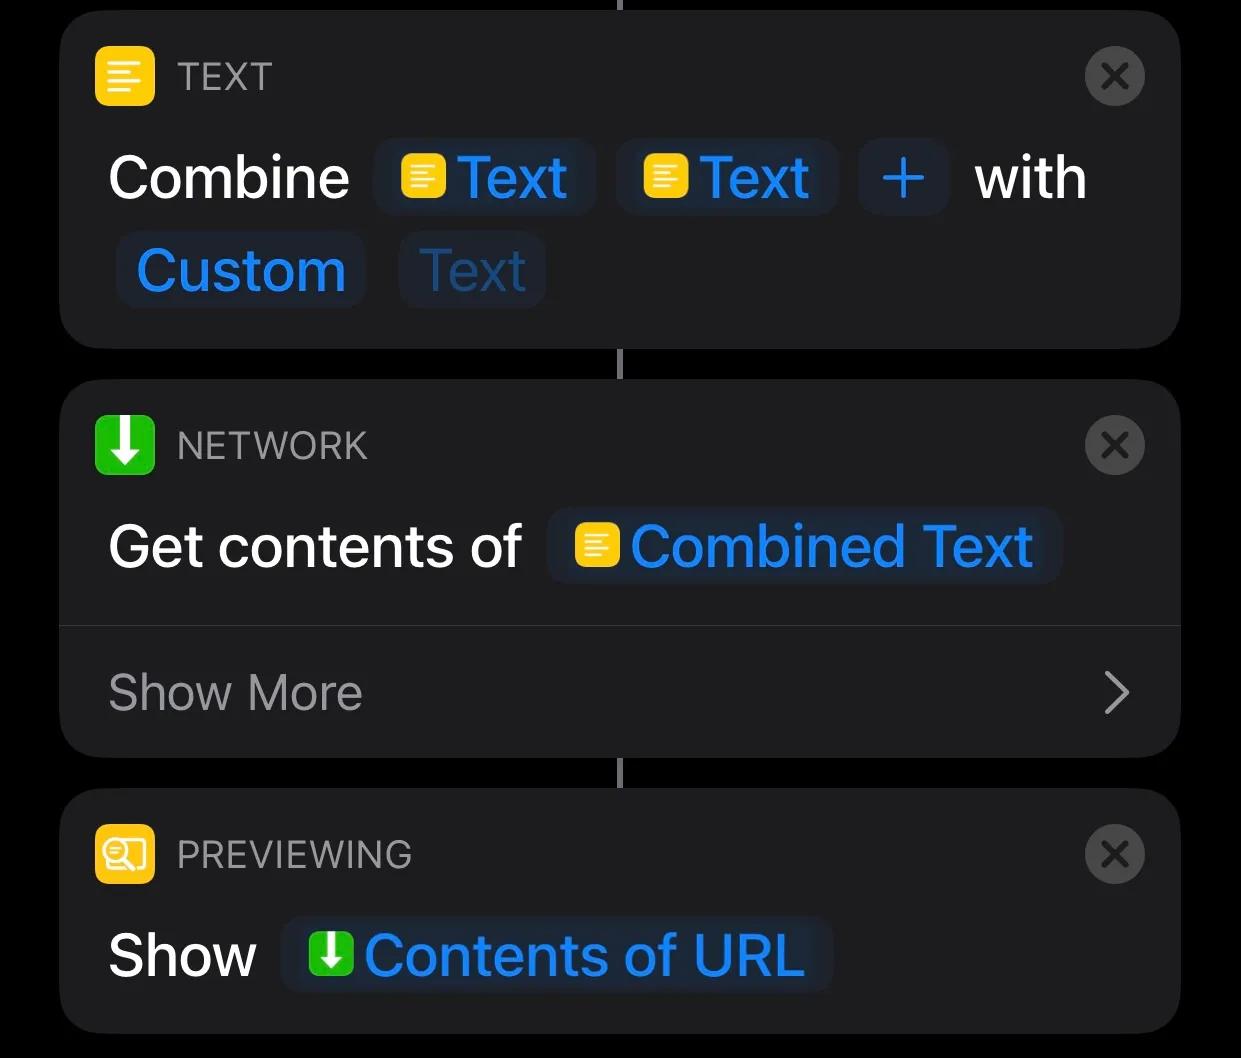
- Text: sets up the URL for our Netlify function.
- Combine text: allows us to concatenate the URL and the tweet ID.
- Get contents: fires a GET request to the combined URL.
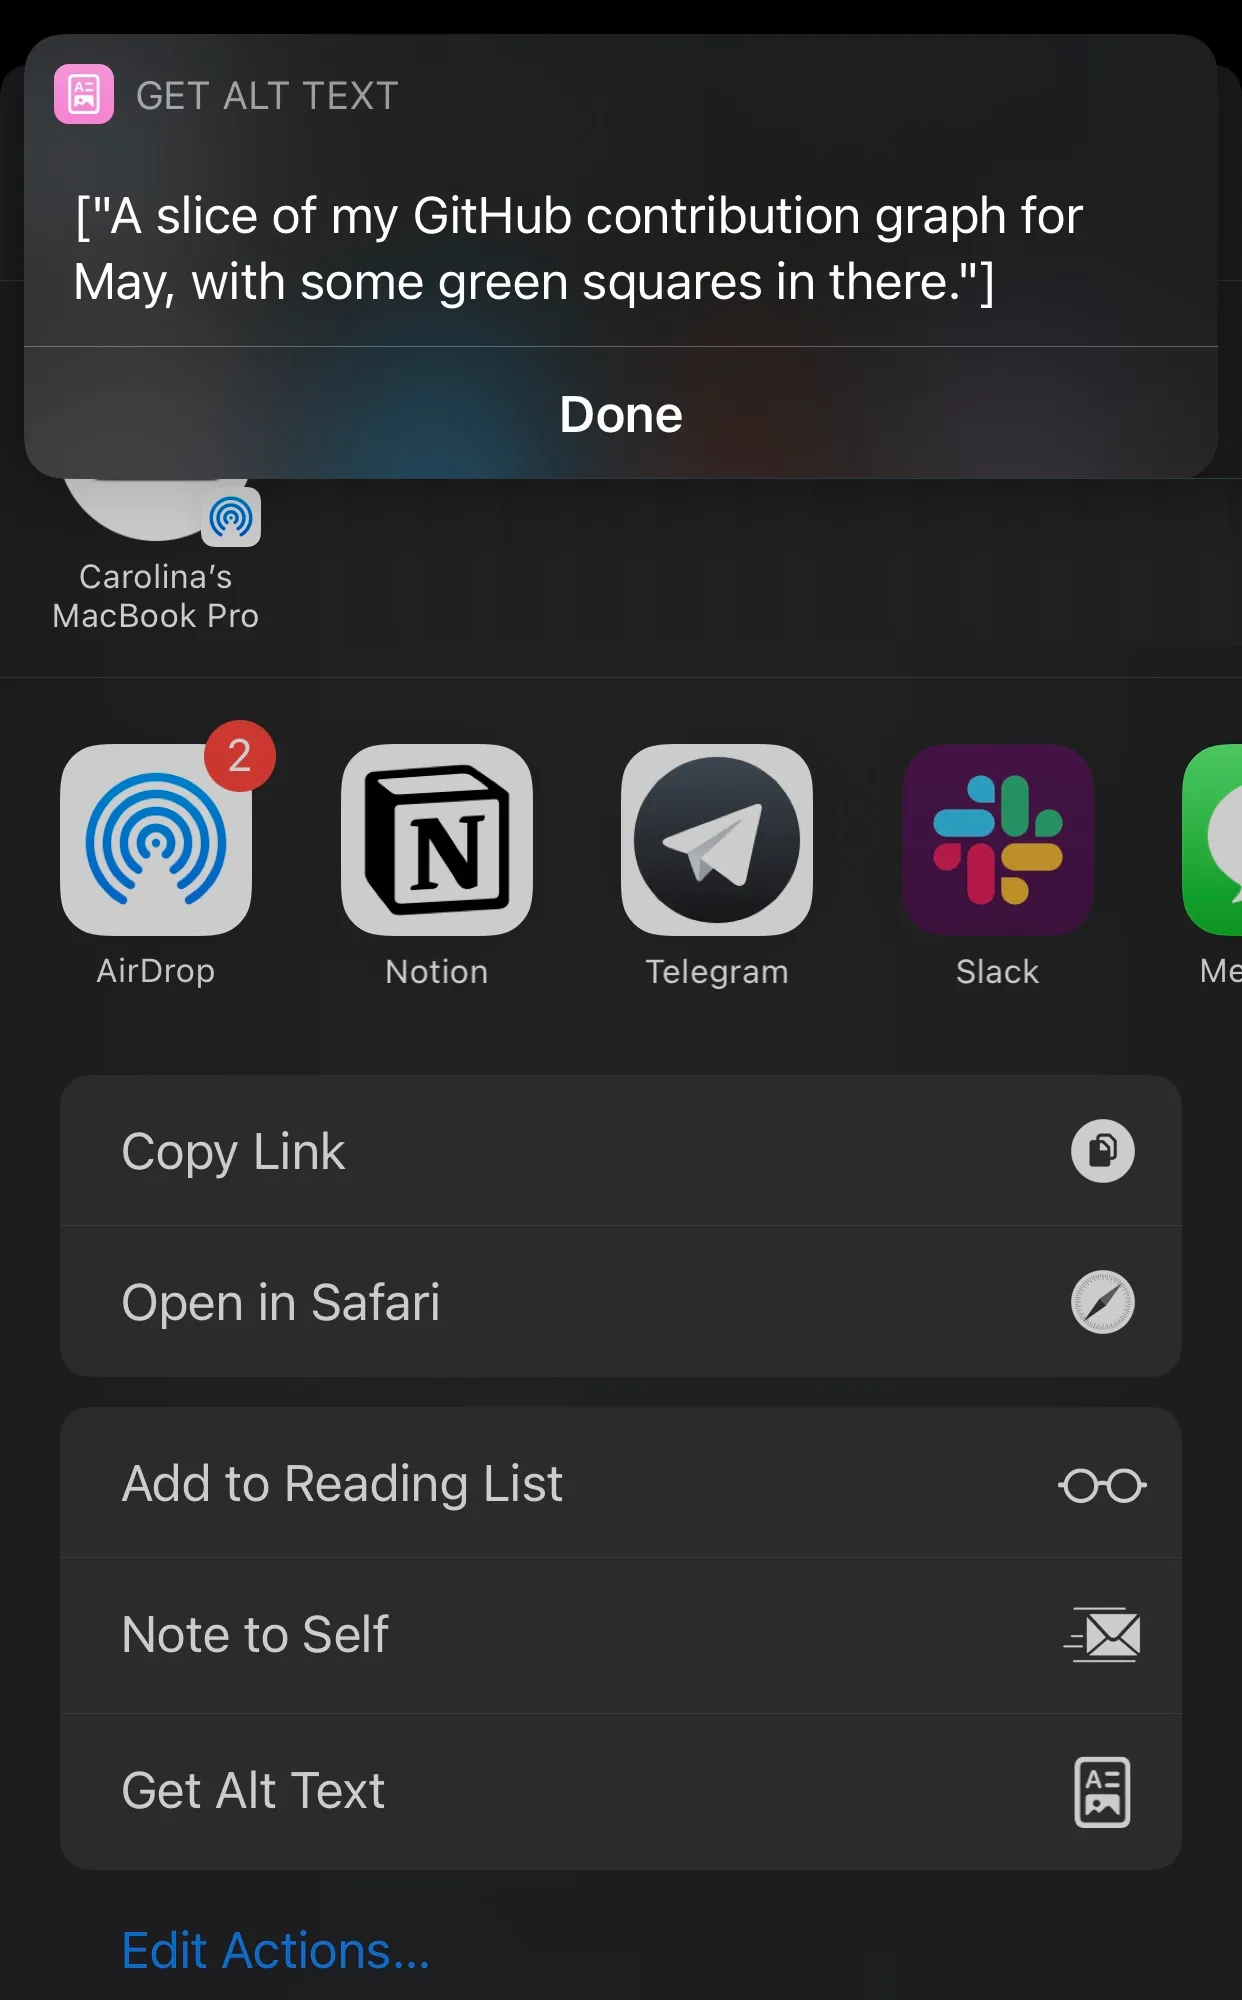
- Show result: shows the body of the response in a modal.
Top tip: while you’re adjusting the blocks and variables in the shortcut, scattering a few Show result blocks around might help to see what you’re working with.
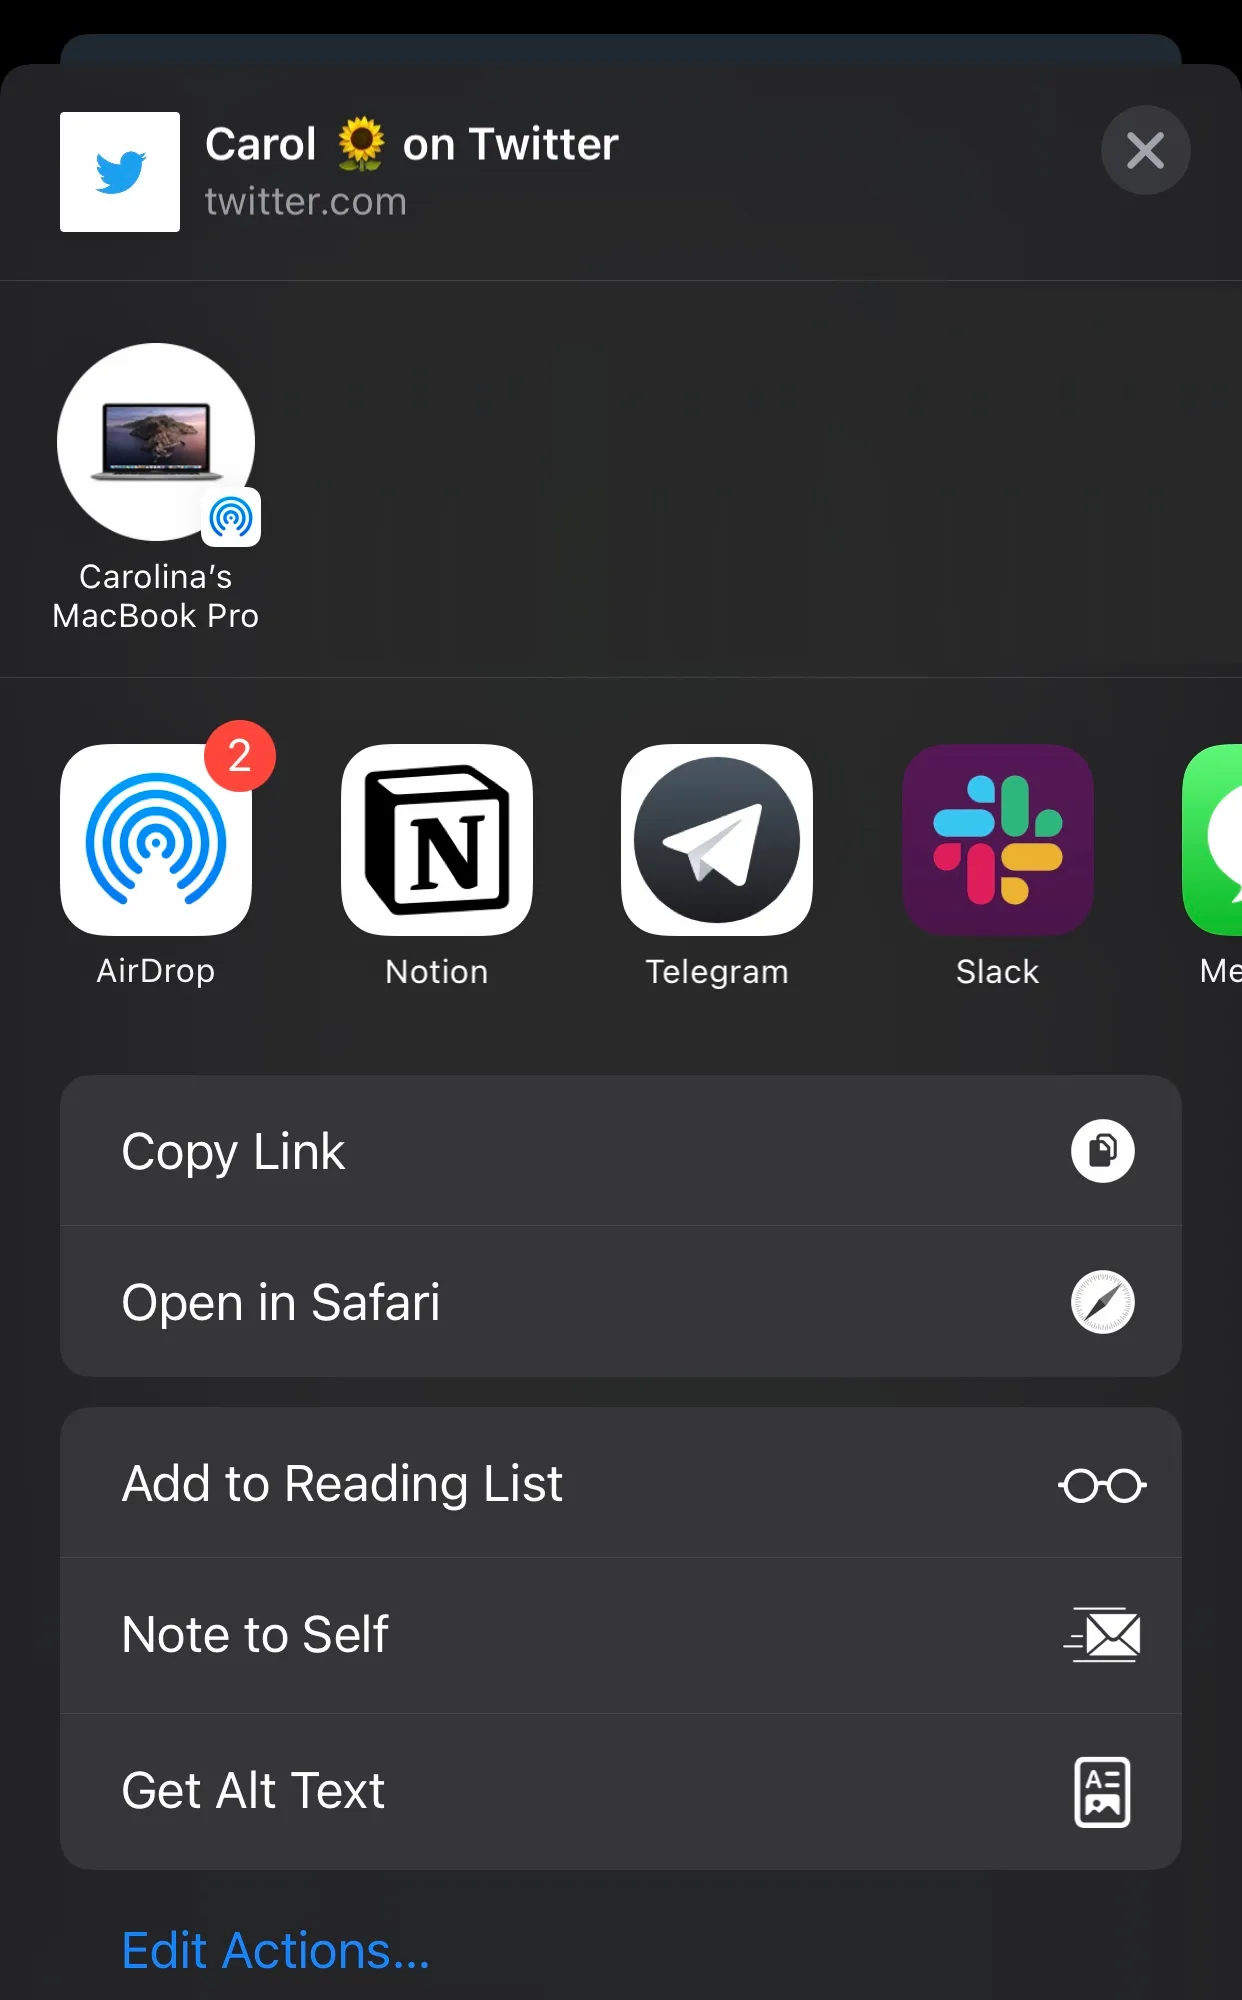
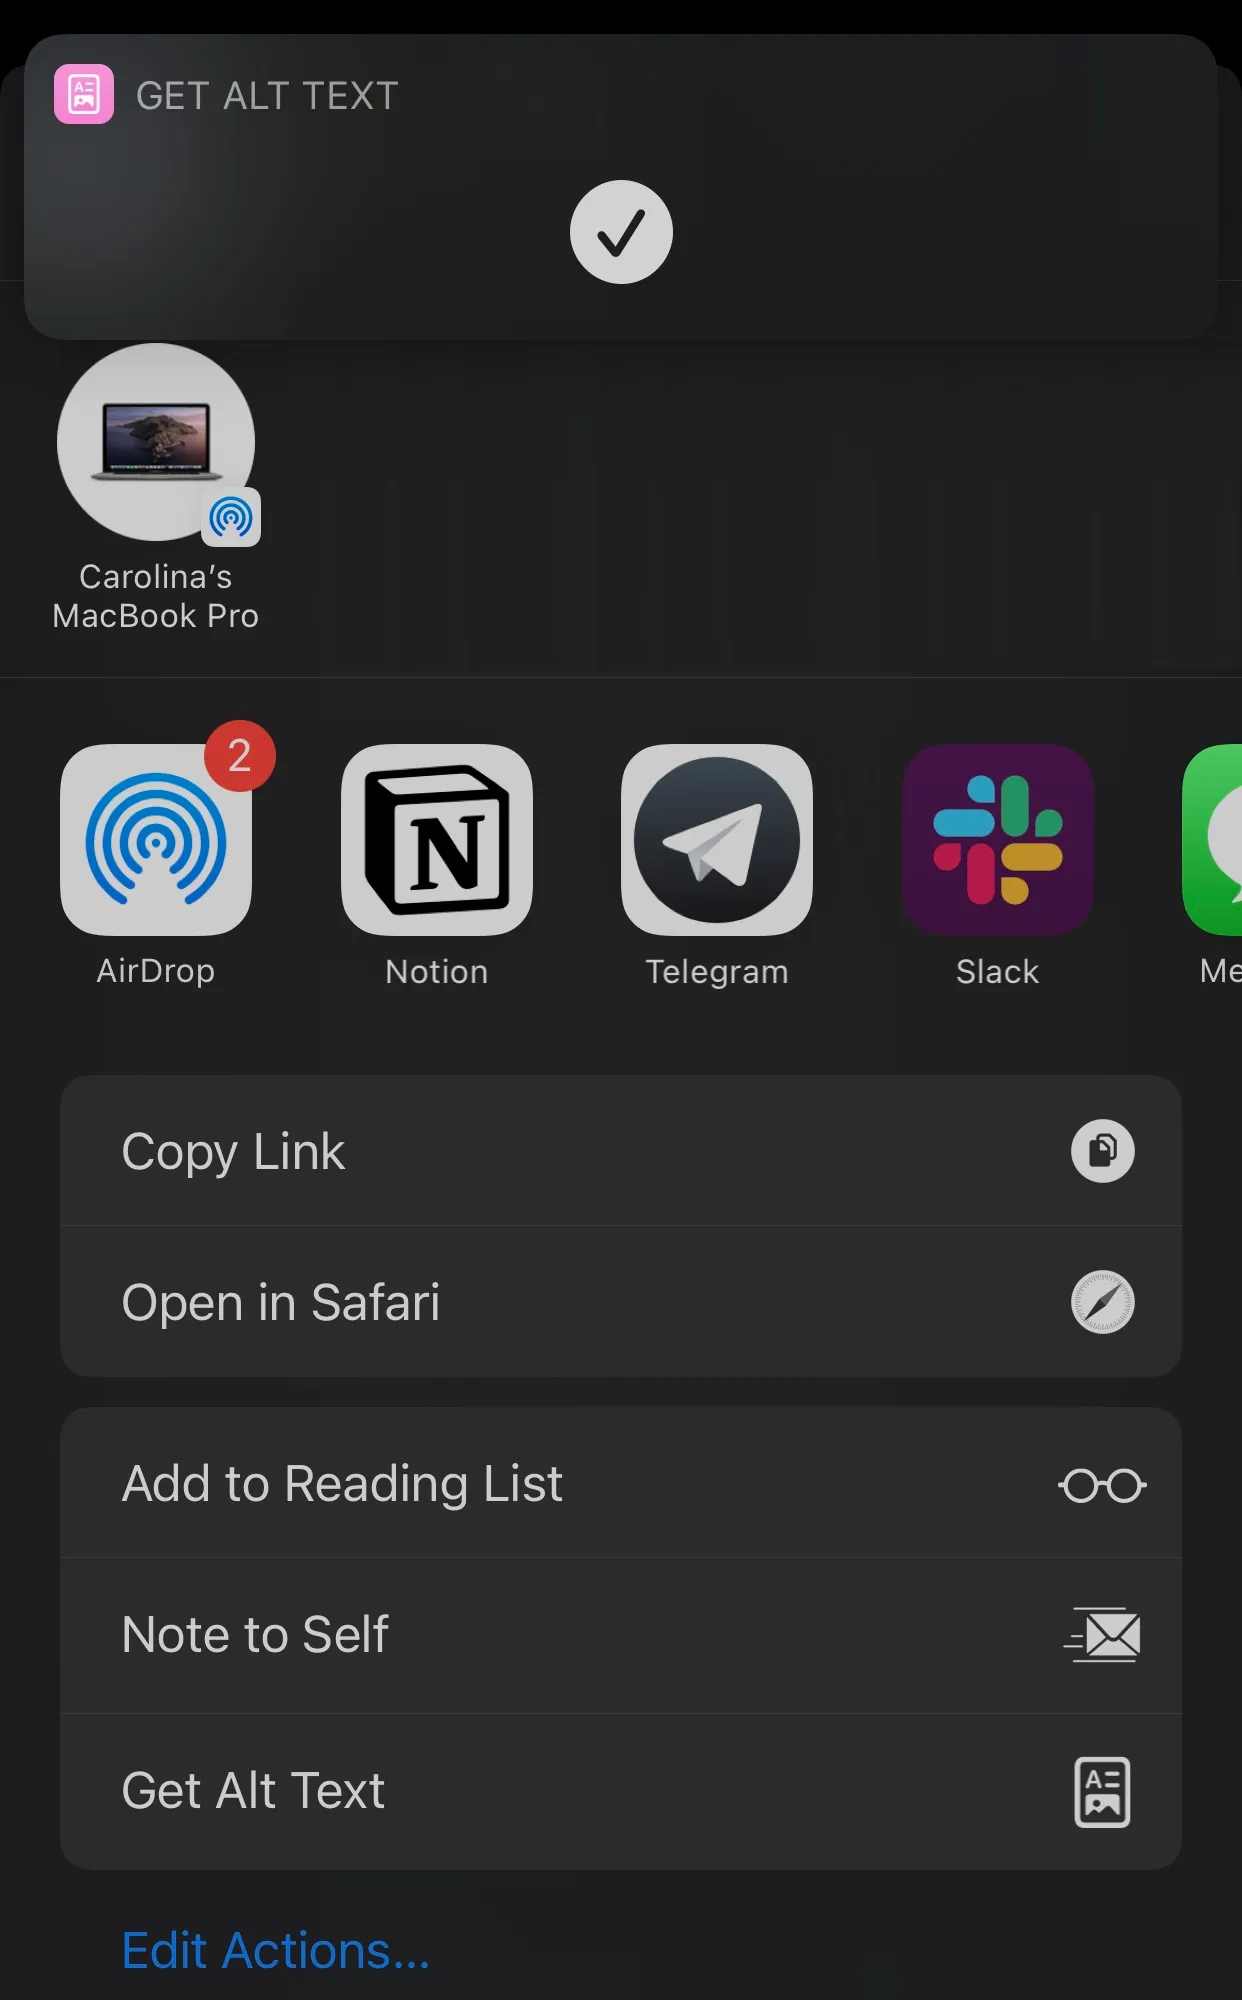
After I got all the blocks in order, I enabled my shortcut on the share sheet and took it for a spin.
Part 3: Profit
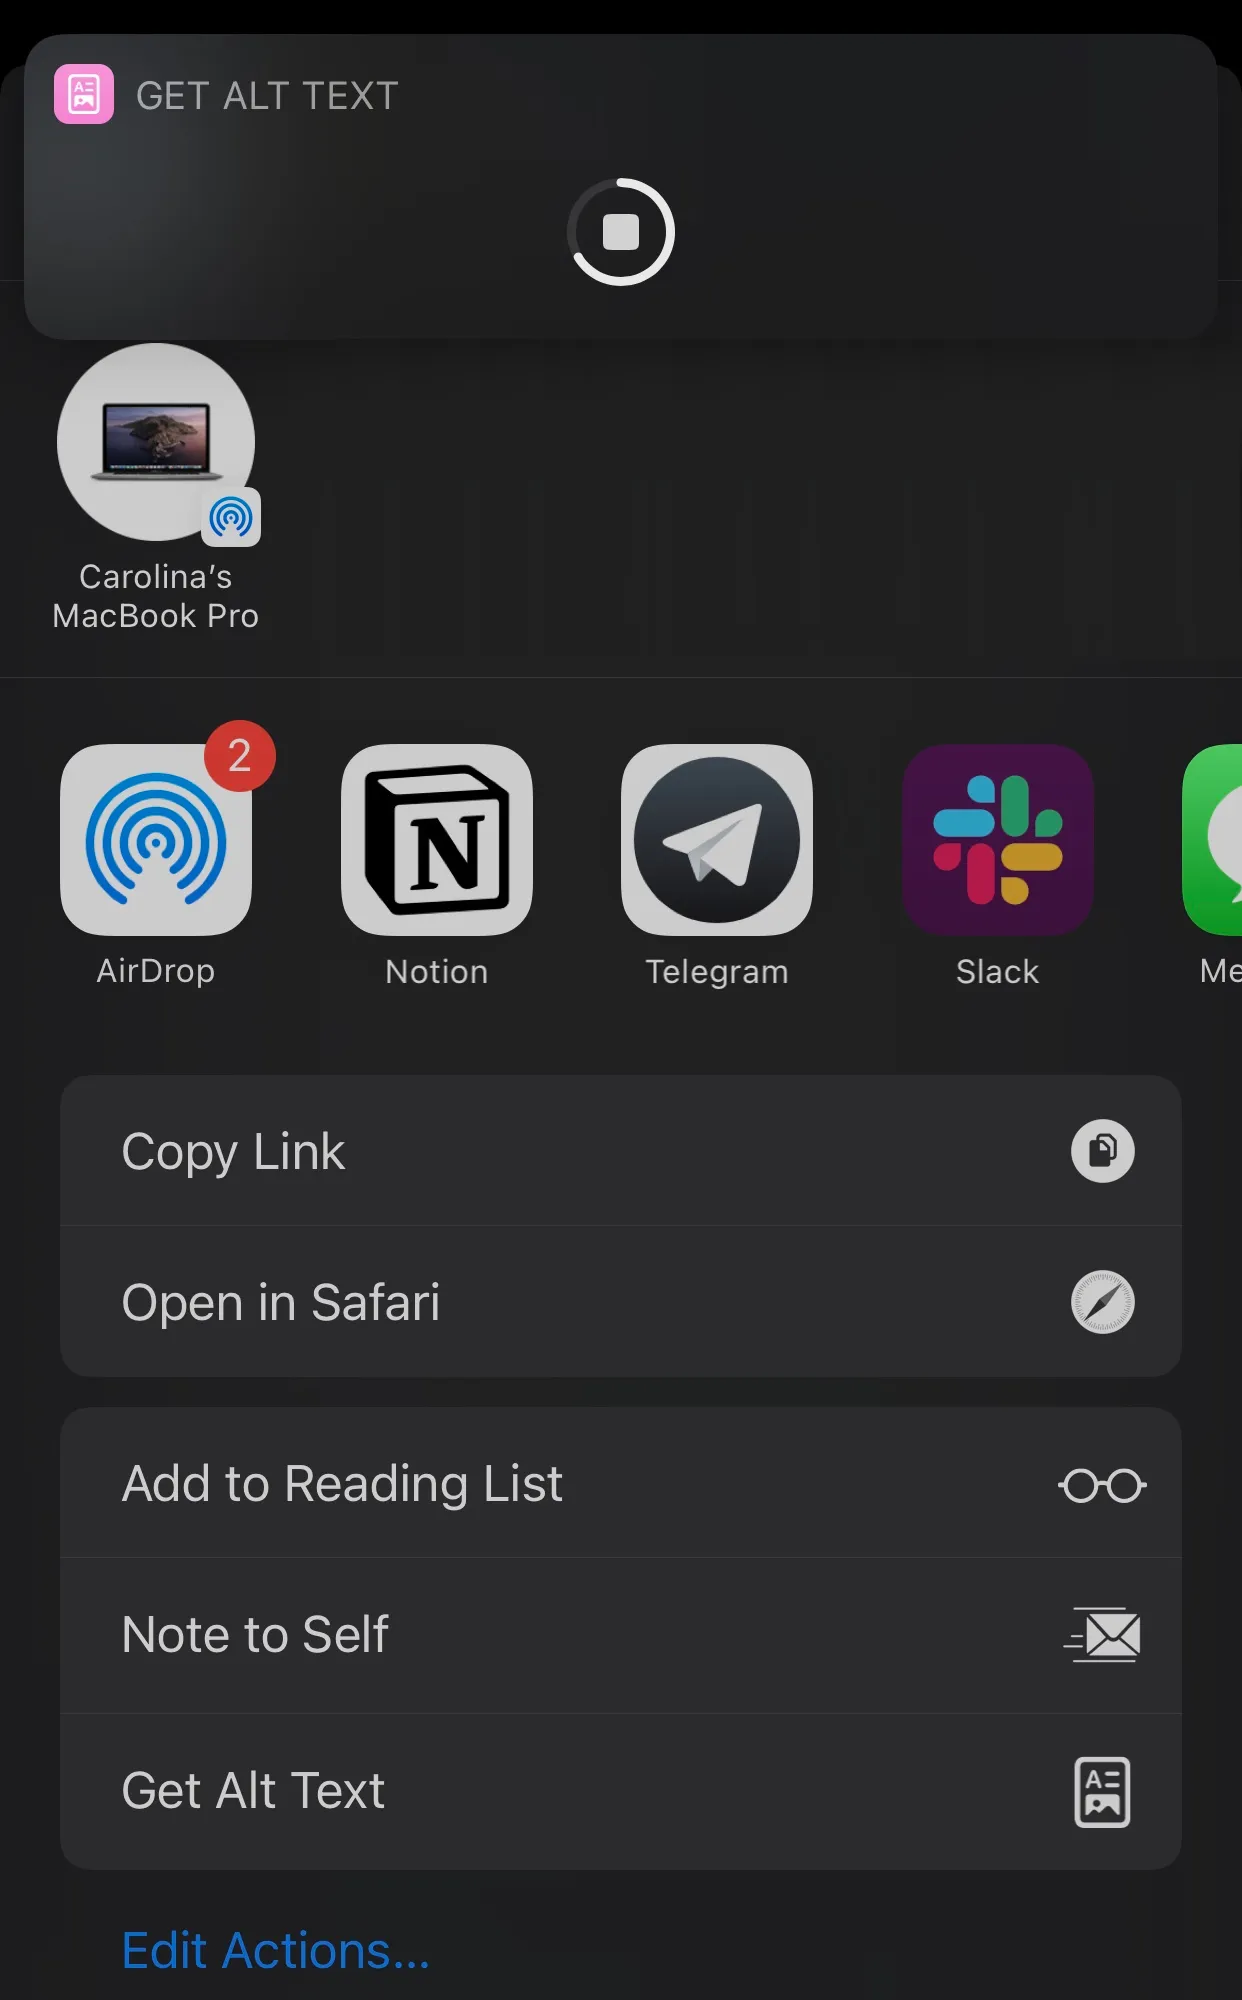
And it (miraculously) works! 🎉
There’s tonnes of improvements that could be made, but I think I’ll probably leave it there for now and go work on my other 35472 small projects 😅
Bye! 👋🏼