Rebuilding my site - Part 4: Fonts & Basic CSS
Add a little bit of ✨ spice ✨
· 5 min read ⏱️Hello there! It’s finally time to add a little bit of ✨ spice ✨ to this site.
Today we’re adding custom fonts and some basic CSS.
Let’s go!
Fonts
Header
I knew I wanted a bold and curly font for my headers, so after browsing for longer than I should have, I settled on Norando.
It’s nice and readable at bigger sizes, and it has ligatures, for that extra curly goodness 😌
It was my first time working with ligatures in CSS, so I spent a bunch of time on the MDN page on ligatures, of course, but I also found a website that is absolutely magical when dealing with fonts: Wakamai Fondue 🧀
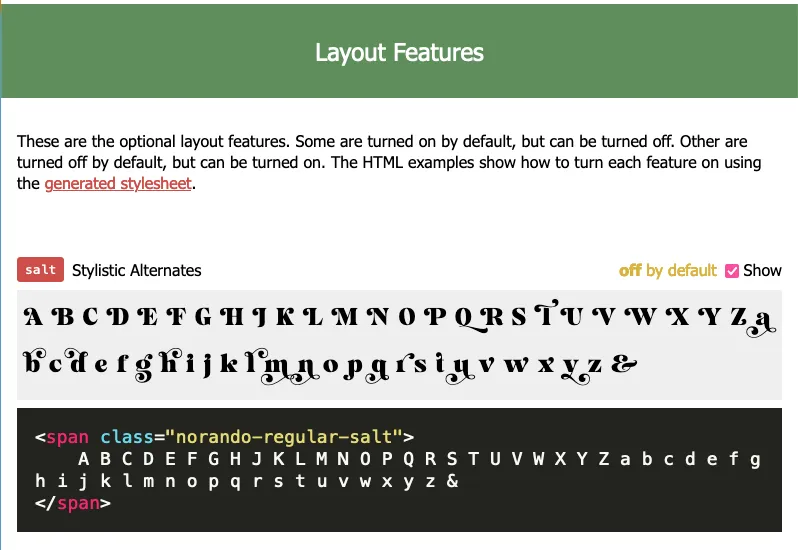
Once you drop your font file in it, it analyses the font and gives you a lot of information about it, like: a list of all the characters, description of all the font features, and some CSS to utilise all those features. So nifty! 🌟
In the end, all I needed to use to enable the ligatures was one line of CSS 🤩
em {
  font-feature-settings: "ss02" on;
}
Body
For the body, I wanted something simple and legible, so I went with Atkinson Hyperlegible, by the Braille Institute, aimed to support folks with low vision.
CSS
Since I was adding some CSS to handle the fonts, I thought this would be a good opportunity to add some very light touch styling to the site 💅🏼
Sass
After repeatings tags many, many times on my first selectors, I decided to reach for Sass. I hadn’t used it before, but folks who have swear by it, so I thought this was a good opportunity to learn.
I used Stephanie Eckles’ 11ty Sass Skeleton as a reference for the build scripts, and had a quick watch of Jesse Showalter’s Starting with Sass video series, and that was enough to get me going. I was so pleased to find quality educational content, especially in concise formats, so I could learn enough to do what I wanted to do in well under an hour 🙌🏼
Basic layout
After a considerable time of being CSS naked, I wanted to add a tiny bit of structure to the site. This is by no means the finished product, rather a foundation for whatever comes next.
I used a chunk of Piccalilli’s Modern CSS reset as the base, and then sprinkled on some grid here and flex there to make the pages easier to read, and to give lists a bit of room to breathe.
My absolute favourite read when working on this was Every Layout’s units page, it taught me a lot about the fundamentals of sizing on the web, and it gave me this gem of a CSS line, that instantly made all of my blocks of text vastly more readable:
p {
  max-width: 60ch;
}
Lessons learnt
This slow, layered, and focussed approach to rebuilding my site continues to pay dividends. Instead of continuously working around problems, I’m greatly enjoying the process of digging a little deeper and working through the problems.
I had a couple of issues this time:
Squashed images
As I added some CSS to make images fluid, it meant that they all became bigger, as they were previously falling back to the smallest size (I covered that a little on this post). However, they all looked a bit squashed, so I set out to figure out why.
The issue was cause by the max-width I set on the paragraph tags. Turns out my markdown was wrapping all the images in paragraph tags. But why, do I hear you ask?
After some intense ducking™️ I found this StackOverflow thread that had the answer:
It seems that an image is an inline element and that if Markdown detects an image that is not inside a block element such as
<figure></figure>,<div></div>or other similar block elements then it will apply a<p></p>tag to wrap around the image.
So I ended up tweaking my image shortcode slightly, so it now wraps the picture tag in a figure tag, and if a caption is passed, it gets added as in a figure caption tag.
Squashed images, part 2!
Having solved the squashed images issue, I did a bit more testing and found that when the page was resized and became narrower, the images were getting squashed again 😰
This one turned out to be a lot simpler: the image tag within the picture tag has defined height and width attributes, as it should. But, the fluid image CSS only changes the width, so when the image is made narrower, the width adjusts accordingly, but the height remains fixed to the attribute’s value.
Whew, that was a mouthful! To understand what I mean, it might be helpful to look at the image markup:
<picture>
  <source
    type="image/avif"
    srcset="/images/16865246-600.avif 600w, /images/16865246-900.avif 900w"
    sizes="(max-width: 600px) 600w, 900w"
  />
  <source
    type="image/webp"
    srcset="/images/16865246-600.webp 600w, /images/16865246-900.webp 900w"
    sizes="(max-width: 600px) 600w, 900w"
  />
  <source
    type="image/jpeg"
    srcset="/images/16865246-600.jpeg 600w, /images/16865246-900.jpeg 900w"
    sizes="(max-width: 600px) 600w, 900w"
  />
  <img
    alt="Example alt text."
    loading="lazy"
    decoding="async"
    src="/images/16865246-600.jpeg"
    width="900"
    height="635"
  />
</picture>
As you can see, the picture tag sets the width and height of the image tag based on the sizes attribute of the sources. Our image CSS reset in turn, looks like this:
img,
picture {
  max-width: 100%;
  display: block;
}
When the image’s container changes width, the width of the image is recalculated to remain at 100% of the container’s width, but the height remains anchored to 635px in this case, as set in the height attribute.
Setting height: auto on the CSS image reset was all it took to get it all working properly again.
Cool web stuff
The web never ceases to amaze me, and this week is no exception, so I thought I’d include a couple of interesting tidbits I learnt about while trawling MDN:
- Text decoration skip ink: you can set whether the under/overline crosses through under/overhanging glyphs (think gs, hs, etc) or whether it leaves a gap.
- Media attribute on link tag: in the same way you can specify a media type on a link tag like print or screen, you can use a full on CSS media query to determine whether the resource is linked or not.
Isn’t that great?
That’s it for today! Up next: a little splash of colour 👩🏼🎨🎨